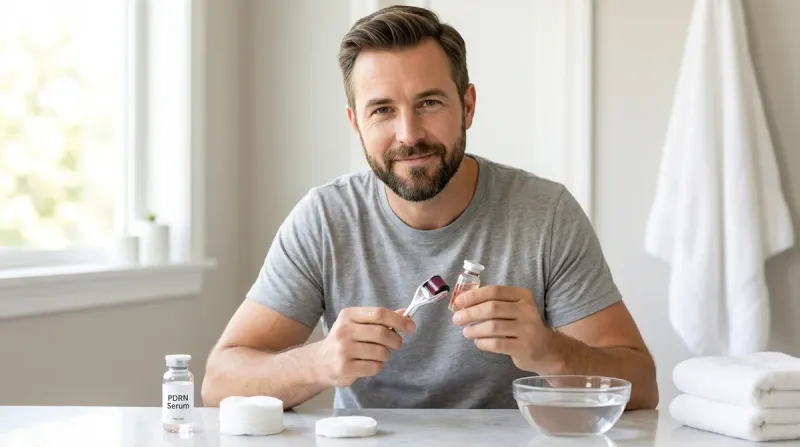
Salmon DNA microneedling combines mechanical collagen induction with bioregenerative actives to deliver measurable improvements in texture, elasticity, and recovery time. This protocol walks you through the complete process: device selection, PDRN serum application timing, needle depth calibration, and post-treatment protocols that maximize absorption without compromising your skin barrier. You'll need 90 minutes for your first session and basic competency with handheld tools—think precision work, not guesswork.
The ROI on salmon DNA microneedling is straightforward. Polydeoxyribonucleotide (PDRN) extracted from salmon sperm cells provides nucleotide building blocks that accelerate fibroblast activity and tissue repair. When paired with controlled micro-injuries from needling, you're engineering an environment where your skin has both the stimulus and the raw materials to rebuild. This isn't spa theater—it's mechanical disruption plus targeted biochemistry.
Expect visible tightening within 72 hours and continued improvement over 4-6 weeks as collagen remodeling runs its course. The learning curve is manageable if you respect the equipment and follow sterile technique. Treat this like any precision task: preparation determines outcomes.
What You'll Need
Essential Equipment
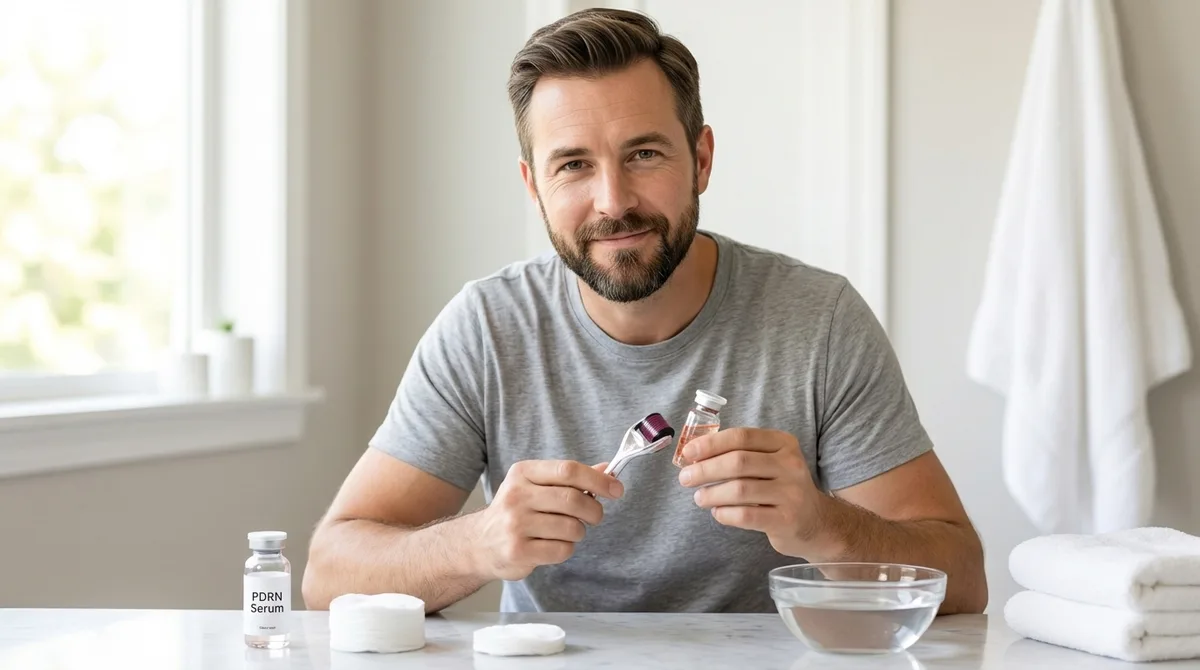
- 0.5mm microneedling device (dermaroller or cartridge pen with adjustable depth control)
- PDRN serum (minimum 1% polydeoxyribonucleotide concentration—Korean formulations typically list this on the label)
- 70% isopropyl alcohol (for device sterilization)
- pH-balanced cleanser (ideally below 5.5 to match skin's natural pH)
- Occlusive recovery balm (petrolatum-based or ceramide complex with minimum 3% ceramide NP)
- Sterile gauze pads (4×4 inch, individually wrapped)
- Timer (for tracking application intervals)
- LED light source (optional but valuable for visualizing treated areas)
Prerequisites
- Intact skin barrier (no active breakouts, wounds, or irritation in treatment zone)
- 72 hours since last chemical exfoliant use (no AHA, BHA, or retinoids)
- No sun exposure or tanning bed use for 48 hours prior
- Clean workspace with good lighting and accessible sink
Step 1: Pre-Treatment Surface Preparation
Double-cleanse the treatment area using your pH-balanced cleanser. First pass removes surface oils and debris. Second pass ensures complete removal of any residual product that could interfere with needle penetration or introduce contaminants into micro-channels.
Pat dry with a clean towel—don't rub. Any friction at this stage is wasted energy. Your skin should be completely dry before you begin needling; moisture creates drag that dulls needles and reduces penetration consistency.
Inspect your microneedling device under direct light. Bent or corroded needles compromise results and increase infection risk. If you're using a roller, examine the barrel for any hair or dried product buildup. Cartridge pens should click smoothly through depth settings without resistance.
Sterilize the needle head by submerging it in 70% isopropyl alcohol for 60 seconds minimum. Shake off excess alcohol and allow 30 seconds of air-dry time. The device should be damp but not dripping when it touches your skin.
Takeaway: Cleanliness determines infection risk. Shortcut the prep and you're engineering complications, not collagen.
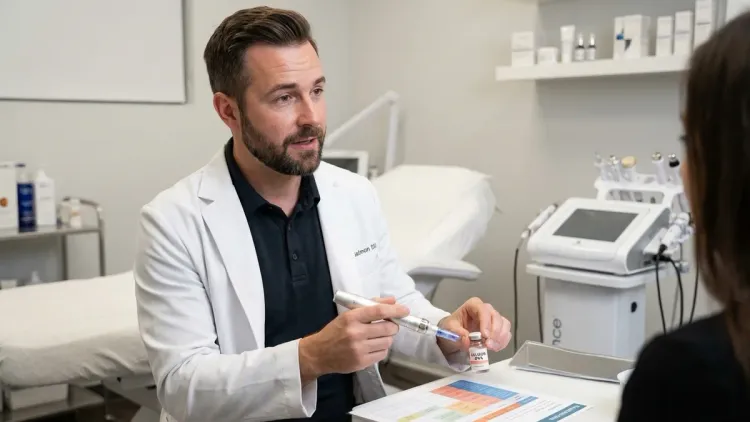
Step 2: Depth Calibration and Zone Mapping
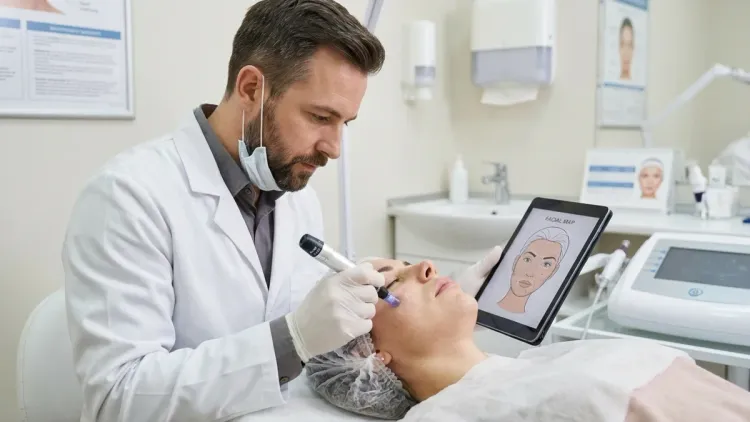
Set your device to 0.5mm depth. This penetration level creates controlled injury in the upper dermis without reaching blood vessels or nerves. Deeper doesn't mean better—it means longer recovery and higher risk of scarring, especially for at-home protocols.
Map your treatment zones mentally or with a handheld mirror. Forehead, cheeks, jawline, and neck respond well to salmon DNA microneedling. Avoid the orbital bone area (too close to eyes), lips, and any area with active lesions or broken skin.
For rollers: you'll use overlapping passes in horizontal, vertical, and diagonal patterns. For pens: you'll work in systematic grids, lifting and stamping rather than dragging.
Test penetration on your forearm first if this is your first session. You should feel pressure and mild prickling—not sharp pain. If you're bleeding beyond pinpoint dots, you're applying too much pressure or your needles are damaged.
Takeaway: Depth consistency matters more than coverage area. Focus on controlled repetition in one zone before expanding your treatment map.
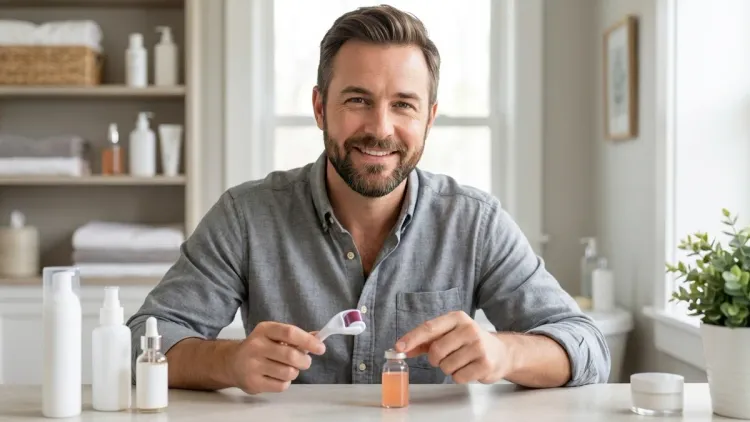
Step 3: Mechanical Needling Execution
Start with your forehead. Hold skin taut with your non-dominant hand—this creates a firm surface for consistent needle penetration. With a roller, make 4-6 passes in each direction (horizontal, vertical, diagonal left, diagonal right) using light pressure. The device should glide smoothly; if you're dragging or skipping, you're pressing too hard.
For cartridge pens, work in 1-inch square sections. Stamp 10-12 times per section with even spacing. Don't double-back immediately—systematic coverage prevents over-treating areas while missing others.
You're looking for uniform pinkness across the treatment zone—not welts or bleeding. Pinpoint bleeding is normal and acceptable; continuous oozing means you've exceeded safe depth or pressure.
Move to cheeks, then jawline, maintaining the same pattern and pressure. Your face should look like mild sunburn, not road rash. The entire needling phase takes 15-20 minutes for full-face coverage.
Clean the device with alcohol immediately after completing mechanical treatment. Don't let blood or tissue dry on the needles.
Takeaway: Consistent pressure and systematic coverage deliver predictable results. Rushing this phase compromises everything that follows.
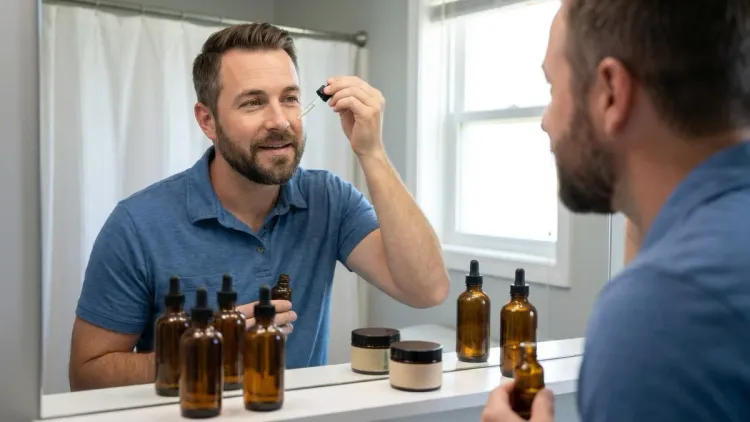
Step 4: Immediate PDRN Application
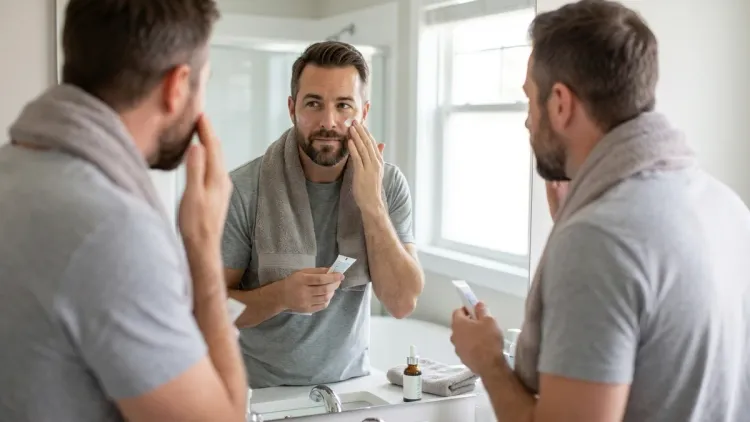
Within 60 seconds of completing needling, apply your PDRN serum directly to the treated area. The COSRX Hydrium Salmon PDRN Serum contains 1.2% polydeoxyribonucleotide and has low viscosity for rapid penetration through open micro-channels.
Use 3-4 drops for full-face application. Spread gently with clean fingertips using pressing motions—not rubbing. The serum should absorb within 45-60 seconds. If it's sitting on the surface after two minutes, you've used too much or your channels have already closed.
PDRN delivers nucleotides, adenosine, and guanosine that serve as building blocks for DNA and RNA synthesis. When applied immediately post-needling, absorption rates increase by approximately 200% compared to intact skin. You're effectively force-feeding your fibroblasts the raw materials they need for repair cycles.
Don't layer additional products during this window. The micro-channels created by needling stay open for roughly 15-20 minutes. Everything you apply during this period gets deep penetration—which is precisely why you want clean, single-ingredient actives, not complex formulations with potential irritants.
Wait 20 minutes before proceeding to the next step. Set a timer. Use this window to clean your workspace and store your device properly.
Takeaway: Timing determines absorption. Apply too late and you've wasted the mechanical phase.
Step 5: Barrier Sealing and Recovery Protocol
After the 20-minute PDRN absorption window, apply a thin layer of occlusive recovery balm. This seals the treatment area, prevents trans-epidermal water loss, and creates an environment conducive to healing without inflammation.
Look for formulations with petrolatum or dimethicone as the primary occlusive, backed by ceramides (minimum 3% ceramide NP, 1% ceramide AP, 1% ceramide EOP for optimal barrier repair). The La Roche-Posay Cicaplast Baume B5 contains 5% panthenol plus madecassoside, which reduces inflammation markers without suppressing the collagen remodeling you just triggered.
Your skin should feel protected but not suffocated. If you're experiencing stinging or burning beyond mild tightness, remove the product immediately and rinse with cool water—you may have an allergy or your barrier was compromised before treatment.
For the next 48 hours, this occlusive stays on whenever you're indoors. Reapply after cleansing (which should happen only once daily during recovery). Avoid makeup, sunscreen, and active ingredients during this period. Your only job is protecting the treated area while collagen remodeling initiates.
Sleep on a clean pillowcase and avoid face-down positions that create friction against treated skin. Small details compound over recovery periods.
Takeaway: The recovery phase is where results materialize. Neglect barrier protection and you're inviting inflammation that degrades your outcome.
Step 6: 48-Hour Post-Treatment Window
For 48 hours post-treatment, your skin is in active repair mode. Fibroblast activity peaks during this window, and collagen synthesis accelerates if you maintain optimal conditions. This means keeping the treated area clean, moisturized, and protected from UV exposure.
Cleanse once daily using the same pH-balanced cleanser from pre-treatment. Lukewarm water only—hot water dilates vessels and increases inflammation. Pat dry, never rub.
Reapply PDRN serum twice daily during this window. While the micro-channels have closed, your skin barrier remains more permeable than baseline for roughly 72 hours. You won't achieve the same absorption rates as immediate post-needling application, but you're still seeing 30-40% improvement over intact skin.
After each PDRN application, follow with your occlusive balm. Think of this as a construction site: the PDRN delivers materials, and the occlusive maintains work-site conditions that allow your cells to build efficiently.
Avoid direct sun exposure. If you must go outside, wear a physical barrier (hat, hood) rather than chemical sunscreen, which can irritate compromised skin. Indoor work is ideal during this phase—schedule your treatments accordingly.
By hour 48, you'll notice tightening and smoothness beginning to emerge. Surface redness should be resolving. If you're still seeing significant inflammation, extend your recovery protocol by 24 hours before introducing any additional products.
Takeaway: The 48-hour window determines whether you get measurable tightening or just irritation. Protect your investment.
Step 7: Week-One Maintenance and Progressive Loading
Days 3-7 post-treatment represent the transition from acute recovery to active remodeling. Your skin barrier has re-established baseline function, but collagen synthesis is still ramping up. This is when you can begin reintroducing supporting actives that amplify PDRN's regenerative signal.
Continue PDRN serum twice daily. On day 4, you can introduce a lightweight niacinamide serum (5% concentration) in the morning before your PDRN application. Niacinamide supports ceramide synthesis and reduces inflammation markers without interfering with collagen remodeling.
For readers managing multiple treatment areas or dealing with scalp thinning concerns simultaneously, the bioregenerative skincare principles that govern facial protocols translate directly to follicular environments—the same nucleotide delivery and barrier management rules apply.
On day 6, you can reintroduce sun protection. Use a physical (mineral) sunscreen with zinc oxide or titanium dioxide rather than chemical filters. Aim for SPF 30 minimum, applied generously to all treated areas.
By day 7, your skin should feel normal to the touch—slightly tighter than baseline, with improved texture that's noticeable when running clean fingers across the treated area. This is your new foundation. Each subsequent treatment cycle builds on this baseline, creating cumulative improvements in thickness, elasticity, and resilience.
Takeaway: Progressive loading prevents overwhelming recovering skin. Build your stack one active at a time, monitoring response at each step.
Step 8: Long-Term Protocol and Session Spacing
Optimal results from salmon DNA microneedling come from consistent sessions spaced 4-6 weeks apart. This interval allows complete collagen remodeling cycles to finish before you trigger the next round of controlled injury. Needling more frequently shortens remodeling windows and can lead to scar tissue formation rather than organized collagen architecture.
After your second session, you'll have baseline data for comparison. Improvements in texture, pore appearance, and elasticity should be measurable by week 3 post-treatment. If you're not seeing changes, evaluate your technique: depth consistency, PDRN timing, and barrier protection are the most common failure points.
Most users see peak results after 3-4 sessions. Diminishing returns set in after 6 sessions within a 12-month period—your skin needs longer recovery intervals once you've achieved significant remodeling. At that point, transition to maintenance protocols: one session every 8-12 weeks to sustain gains.
Between sessions, continue PDRN serum 3-4 times weekly as part of your standard routine. While you won't achieve needling-level absorption, consistent PDRN application maintains elevated nucleotide availability that supports ongoing repair and maintenance processes.
Track your results with standardized photos (same lighting, same angle, same distance) taken at weekly intervals. Visual documentation eliminates subjective bias and helps you calibrate technique adjustments based on actual outcomes rather than perception.
Takeaway: Consistency over time beats aggressive single sessions. Build your protocol around sustainable intervals that respect biological remodeling timelines.
Pro Tips & Common Mistakes
Storage hygiene is non-negotiable. Your microneedling device never touches a bathroom counter—ever. Store it in a sealed container with a small alcohol-soaked cotton pad to maintain sterile conditions between uses. Replace roller heads every 8-10 uses or when you notice any dulling or corrosion. Cartridge pens last longer but still require replacement after 15-20 sessions.
The biggest mistake is over-treating. More pressure, deeper penetration, and more frequent sessions do not accelerate results—they create inflammation that degrades collagen quality and extends recovery time. If you're bleeding beyond pinpoint dots or experiencing pain beyond mild discomfort, you've exceeded safe parameters.
PDRN concentration matters more than volume. A properly formulated 1-2% PDRN serum delivers therapeutic nucleotide levels. Higher percentages don't improve outcomes proportionally and often come with increased viscosity that reduces penetration. Focus on concentration verification rather than milliliter volume per application.
Don't mix protocols. If you're running retinoid treatments, vitamin C serums, or chemical exfoliants in your routine, suspend them for 72 hours before and after each needling session. Combining mechanical injury with chemical exfoliation creates compounded barrier disruption that overwhelms repair capacity. For detailed guidelines on managing multiple actives safely, review the protocols outlined in how to layer bioregenerative serums with acids and antioxidants.
Session timing affects results. Schedule treatments during low-stress weeks when you can control sun exposure and maintain consistent sleep schedules. Collagen synthesis is directly tied to growth hormone secretion during deep sleep—shortchange recovery sleep and you're leaving results on the table.
Frequently Asked Questions
How often can I do salmon DNA microneedling at home?
You should space salmon DNA microneedling sessions 4-6 weeks apart to allow complete collagen remodeling cycles. The mechanical injury triggers a repair cascade that takes 3-4 weeks to reach peak collagen deposition, and interrupting this process with additional needling before completion can lead to disorganized scar tissue rather than structured collagen architecture. More frequent sessions don't accelerate results—they compromise them.
Can I use salmon DNA serum without microneedling?
Yes, PDRN serums deliver measurable benefits on intact skin, including improved hydration, reduced inflammation markers, and enhanced cell turnover rates, but absorption is limited to roughly 30% of what you achieve with microneedling-created channels. If you're using PDRN as a standalone daily serum, apply it to freshly cleansed skin before occlusives or heavier moisturizers, and expect gradual improvements over 8-12 weeks rather than the accelerated timeline that needling provides.
What PDRN percentage should I look for in salmon DNA serums?
Effective PDRN serums contain 1-2% polydeoxyribonucleotide concentration, which provides therapeutic nucleotide levels without excessive viscosity that impairs absorption. Korean formulations typically disclose PDRN percentage on the label, while Western brands often use proprietary salmon extract terminology that obscures actual active content. Concentrations above 3% don't improve efficacy proportionally and often create texture issues that reduce penetration through micro-channels.
Is salmon DNA microneedling safe for sensitive skin?
Salmon DNA microneedling can be performed safely on sensitive skin if you use conservative depth settings (0.3-0.5mm maximum), extend recovery intervals to 6-8 weeks between sessions, and choose PDRN serums without fragrance or essential oils that trigger reactivity. However, if you have active rosacea, eczema, or compromised barrier function, address those conditions with barrier repair protocols before introducing controlled injury treatments that demand significant repair capacity.
Summary
Salmon DNA microneedling delivers measurable tightening and texture improvements through controlled mechanical injury paired with targeted nucleotide delivery. The protocol is straightforward: calibrate depth, execute systematic needling, apply PDRN during the absorption window, seal with occlusives, and protect during recovery. Results compound over 3-4 sessions spaced 4-6 weeks apart.
This isn't complicated beauty ritual—it's mechanical tissue engineering. Respect the equipment, follow sterile technique, and maintain discipline during recovery windows. Your face responds to precision and consistency, not wishful thinking. Track your results with photos, adjust pressure and timing based on actual outcomes, and remember that collagen remodeling operates on biological timelines that don't compress no matter how badly you want faster results.
Start conservative with depth and pressure. You can always increase intensity in subsequent sessions once you've established baseline response data. But you can't undo excessive tissue damage or reverse scarring from over-aggressive technique. Build slowly, document everything, and let measured results guide your protocol evolution.