
Look, I'm not going to lie to you—learning how to start a Korean skincare routine feels overwhelming when you're staring at ten different bottles at 11 PM wondering which one goes first. After my second kid left me with melasma and exactly zero brain cells for a complicated routine, I spent months figuring out which steps actually matter and which ones are just beauty industry noise.
Here's the deal: A beginner Korean skincare routine takes 7-12 minutes twice daily and costs around $80-150 to build from scratch if you're smart about it. You'll learn the actual order (it's based on molecular weight and pH, not marketing), which steps you can skip when you're running late, and the specific active percentages that deliver results without the around $200 price tags.

This is for the person who wants glass skin but also needs to be out the door by 6:15 AM. Let's be real about what works.
What You'll Need
Essential products (the non-negotiables):
- Oil-based cleanser (20-30% emulsifying oils)
- Water-based cleanser (pH 5.0-6.0)
- Hydrating toner with humectants (glycerin 3-5% or hyaluronic acid 0.1-0.5%)
- Treatment serum with actives (niacinamide 5-10%, vitamin C 10-20%, or retinol 0.25-1%)
- Moisturizer with ceramides and peptides
- Broad-spectrum SPF 50+ PA++++ sunscreen (AM only)
Optional but effective (add these once you've mastered the basics):
- Chemical exfoliant (AHA 5-10% or BHA 1-2%, 2-3x weekly)
- Essence with fermented ingredients
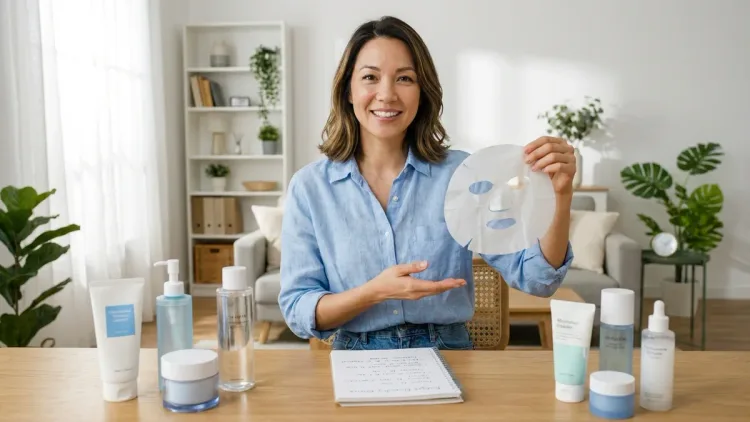
- Sheet masks for emergency hydration
- Eye cream (though honestly, most moisturizers work fine here)
Time commitment:
- Full routine: 10-12 minutes
- Abbreviated routine (running late): 4-6 minutes
- Products typically last: 3-4 months at around $0.30-0.80 per application
Step 1: First Cleanse with Oil-Based Cleanser (Evening Only)
The first step in how to start a Korean skincare routine is the double cleanse, and here's why it's not just marketing: Oil dissolves oil. Your sunscreen, makeup, and sebum are oil-based, and water alone won't touch them.
I use an oil cleanser with 15-25% mineral oil or rice bran oil as the base. The Kose Softymo Speedy Cleansing Oil (around $12 for 230ml, manufactured in Japan) contains mineral oil and propylene glycol that emulsify on contact with water, leaving zero residue. That's around $0.16 per use for 60 uses.
Apply to dry skin—this is crucial. Wet skin dilutes the oil and makes it less effective. Massage for 30-60 seconds (I do this while mentally reviewing my morning depositions), then add a splash of water to emulsify. The oil turns milky white, which means it's grabbing everything off your face. Rinse thoroughly.
Time investment: 90 seconds
When to skip: Never skip this in the evening if you wear sunscreen. I don't care how tired you are. Morning? Skip it entirely.
The Hanskin Cleansing Oil & Blackhead PHA (around $17 for 300ml) adds 0.5% polyhydroxy acid for gentle chemical exfoliation while cleansing, but it can be stripping if your barrier is already compromised—something I learned the hard way during a particularly brutal trial week when my skin felt like sandpaper.
Step 2: Second Cleanse with Water-Based Cleanser

Your water-based cleanser removes the oil cleanser residue and any remaining water-soluble debris. The key specification here is pH 5.0-6.0—anything higher strips your acid mantle and triggers that tight, squeaky feeling that's actually your skin screaming.
I rotate between two: The COSRX Low pH Good Morning Gel Cleanser (around $11 for 150ml, pH 5.0-6.0, made in Korea) contains 0.5% betaine salicylate (a gentle BHA) and tea tree oil. At around $0.18 per use for 60 uses, it's the best morning cleanser when I need something quick that won't wreck my barrier before a full day of meetings.
For evening, the Beauty of Joseon Green Plum Refreshing Cleanser (around $16 for 100ml) has 24% plum water and 3% mung bean extract that remove impurities without that stripped feeling. Slightly pricier at around $0.27 per use, but the texture is creamy and non-foaming, which matters when your skin is already annoyed from retinol.
Application: Use a dime-sized amount, lather between wet palms, massage for 30-45 seconds, rinse with lukewarm water. Not hot—heat dilates capillaries and can trigger rosacea if you're prone.
Time investment: 60 seconds
Morning vs evening: Use both AM and PM, but skip the oil cleanse in the morning unless you used a heavy sleeping mask overnight.
The one thing that drives me crazy about the COSRX? The pump dispenses way too much product if you're not careful. I've wasted half a bottle by pressing too hard while half-asleep at 5:45 AM.
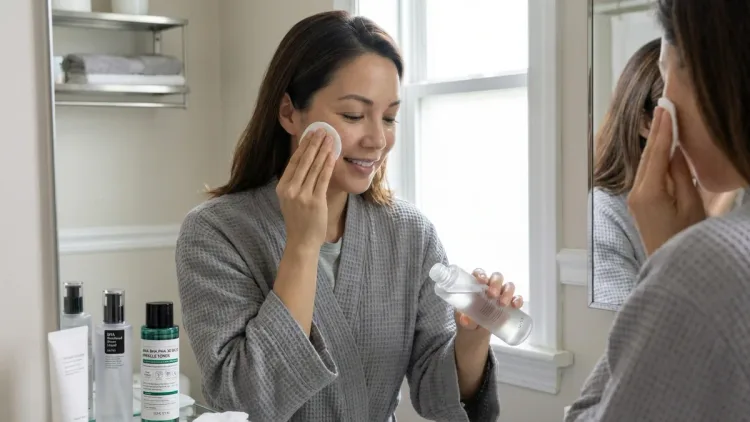
Step 3: Apply Hydrating Toner (pH Balancing and Humectant Layer)
This is where Korean skincare diverges from Western routines. Korean toners aren't astringent—they're hydrating prep layers that restore your skin's pH after cleansing and create a damp surface for better absorption of subsequent products.
The molecular weight here matters: Look for multiple weights of hyaluronic acid (low weight 5-50 kDa penetrates, high weight 1,000-1,800 kDa sits on surface and prevents water loss) or glycerin at 3-5% concentration.
I've been using the I'm From Rice Toner (around $17 for 150ml, made in Korea) for two years. It contains 77.78% rice extract from Yeoju, Korea—yes, they actually specify the region, which tells you about polysaccharide content and efficacy. At around $0.23 per use for 75 uses, it brightens hyperpigmentation from my melasma without any irritation.
Application method (and this is not intuitive): Pat, don't wipe. Pour a quarter-sized amount into your palms, press onto damp skin in upward motions. Wait 30-60 seconds for absorption. The "7 skin method" (applying toner in 7 thin layers) is popular but frankly unrealistic when you have exactly 8 minutes before the baby wakes up.
Alternative: The COSRX Hydrium Watery Toner (around $15 for 150ml) delivers panthenol and three molecular weights of hyaluronic acid at around $0.20 per use. Texture is more watery than the rice toner, absorbs in 20 seconds flat, and layers beautifully under serums. The packaging is utilitarian plastic that feels cheap, but the formulation chemistry is solid.
Time investment: 60 seconds
When to skip: If you're running late, this is the first step I cut. Your serum will still work, just slightly less efficiently.
For more on how these hydrating layers function within a complete moisture barrier strategy, check out What Is the Skin Barrier? Understanding Your Moisture Barrier Function.
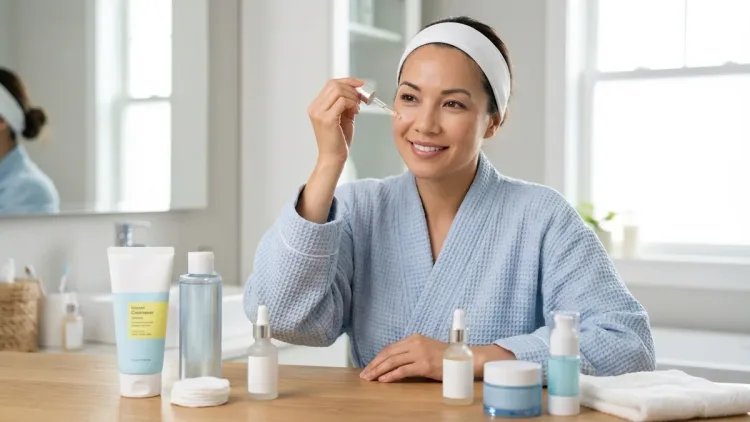
Step 4: Treatment Serum (Active Ingredients)
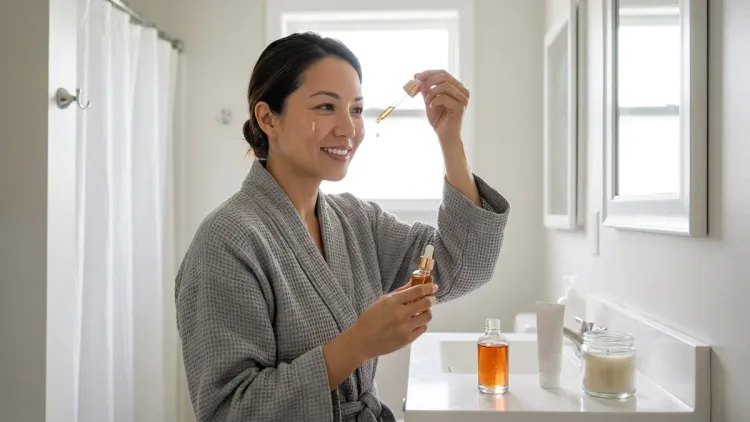
This is where you address your actual skin concerns—hyperpigmentation, fine lines, acne, texture—with concentrated actives. The key to how to start a Korean skincare routine successfully is understanding that you need one primary active per routine, not five.
For hyperpigmentation (my personal battle): The Beauty of Joseon Glow Serum (around $15 for 30ml) contains 2% alpha-arbutin and 5% niacinamide in a propolis and rice extract base. That niacinamide percentage is clinically effective without causing the flushing some people get at 10%. At around $0.50 per use for 30 uses, it visibly faded my melasma in 8 weeks when I used it consistently every evening.
For anti-aging: The COSRX The Retinol 0.1 Cream (around $20 for 20ml) delivers 0.1% pure retinol (not retinyl palmitate or other weak derivatives) with 0.5% panthenol to buffer irritation. That's around $0.67 per use for 30 uses. Start with 2-3 times weekly, work up to nightly over 4-6 weeks. I apply this after toner on bare skin for maximum penetration—some sources say to buffer with moisturizer first, but dermatological research shows retinol works best on direct contact.
For acne and texture: The COSRX BHA Blackhead Power Liquid (around $17 for 100ml) contains 4% betaine salicylate (equivalent to roughly 2% salicylic acid, but gentler) at pH 4-5. Use this 2-3x weekly maximum in place of your daily serum. At around $0.34 per use for 50 uses, it's absurdly cost-effective, but the watery texture can drip everywhere if you're not careful—I learned this when I accidentally squirted it onto my white blouse before a client meeting.
Application: 3-4 drops (about a pea-sized amount when combined) pressed into skin, focusing on areas of concern. Wait 60-90 seconds for absorption before moving to the next step. This waiting period is non-negotiable if you're layering multiple actives—pH and penetration depend on it.
Time investment: 90 seconds including wait time
Morning vs evening: Vitamin C and niacinamide in AM (under sunscreen), retinol in PM only
The ingredient science behind these actives connects to broader bioregenerative skincare principles, especially when you start exploring growth factors and peptide technologies later in your routine evolution.
Step 5: Moisturizer with Barrier-Supporting Ingredients

Your moisturizer needs to do three things: occlude (prevent water loss), replenish lipids (ceramides and cholesterol), and humectants (attract water). Korean formulations excel here because they layer these functions instead of dumping everything into one heavy cream.
The Illiyoon Ceramide Ato Concentrate Cream (around $18 for 200ml, made in Korea) is my holy grail. It contains ceramides in a 3:1:1 ratio with cholesterol and fatty acids—the exact ratio found in healthy skin barrier lipids according to cosmetic chemistry research. At around $0.18 per use for 100 uses, it's cheaper per ounce than CeraVe (around $14 for 16oz = $0.88/oz vs. Illiyoon at $0.09/oz) and far more elegant in texture.
The formulation includes squalane, shea butter, and panthenol in a gel-cream base that absorbs in under 2 minutes without pilling under sunscreen. I use a nickel-sized amount for full face and neck, pressed in with upward motions.
Alternative for oily skin: The COSRX Oil-Free Ultra-Moisturizing Lotion with Birch Sap (around $17 for 100ml) delivers hydration through 70% birch sap and hyaluronic acid without any heavy occlusives. At around $0.34 per use for 50 uses, it's less cost-effective but won't break you out if you're acne-prone.
Time investment: 60 seconds
When to skip: Never. This is the non-negotiable. Even if you do nothing else, cleanse and moisturize.
The Illiyoon tube is massive and awkward to travel with—I've had it explode in my gym bag twice—but the cost-per-use makes it worth the annoyance.
Understanding how these barrier ingredients work together is covered extensively in Barrier-First Beauty: The Complete Guide to Skin Barrier Protection, especially if you're dealing with compromised skin from over-exfoliation.
Step 6: Sunscreen (Morning Only, Non-Negotiable)
Every dermatologist will tell you this: Sunscreen is the most important step. All the retinol and vitamin C in the world won't matter if you're undoing the work with UV damage daily.
Korean sunscreens are formulated with organic filters (chemical) that feel nothing like the thick white zinc oxide formulas we grew up with. Look for SPF 50+ PA++++ (PA++++ blocks 90% of UVA, which causes aging and hyperpigmentation).
The Beauty of Joseon Relief Sun: Rice + Probiotics SPF 50+ PA++++ (around $16 for 50ml) uses organic filters including uvinul A plus and uvinul T 150 with 30% rice extract and fermented grain extracts. At around $0.32 per use for 50 uses (you need 1/4 teaspoon for face, closer to 1/3 with neck), it absorbs in 30 seconds with zero white cast, zero pilling, and a natural finish that works under makeup.
Alternative: The COSRX Aloe Soothing Sun Cream SPF 50+ PA+++ (around $14 for 50ml) is slightly less protective (PA+++ vs PA++++) but contains aloe and centella that calm redness. Texture is more emollient, which some people love but I find makes me look shiny by 10 AM.
Application: This is where most people fail. You need 1/4 teaspoon minimum for adequate SPF protection—that's roughly two finger-lengths of product. Apply as the final step, wait 15 minutes before sun exposure for filters to bind to skin.
Time investment: 90 seconds including application
Reapplication: Every 2 hours of sun exposure (yes, really—I keep a cushion sunscreen in my car for touch-ups)
The pump on the Beauty of Joseon bottle is stiff and requires two hands to dispense, which is maddening when you're trying to wrangle a toddler simultaneously.
For a deeper dive into Korean SPF formulations and how they compare to Western alternatives, see Korean Skin Care on a Budget: Complete Guide to K-Beauty Routines, Ingredients & Affordable Dupes.
Step 7: Weekly Chemical Exfoliation (2-3x Per Week)
This step replaces your daily treatment serum 2-3 times weekly. Chemical exfoliants (AHAs and BHAs) dissolve the bonds between dead skin cells for faster cell turnover and better product penetration.
AHAs (glycolic, lactic, mandelic acid) work on the surface for texture, hyperpigmentation, and dullness. BHAs (salicylic acid, betaine salicylate) are oil-soluble and penetrate pores for acne and blackheads.
The COSRX AHA/BHA Clarifying Treatment Toner (around $17 for 150ml) contains low percentages of both (AHA and BHA around 0.1-0.5% each) for daily gentle exfoliation. But let's be real—those percentages are too low for significant results. It's a good entry point if you've never used acids, but you'll outgrow it.
The Some By Mi AHA-BHA-PHA 30 Days Miracle Toner (around $16 for 150ml) hits harder with 2% niacinamide, 0.5% salicylic acid, and tea tree in a pH 5.5 formulation. Use this 2-3x weekly in place of your treatment serum (not in addition to). At around $0.21 per use for 75 uses, it's cost-effective, but the texture can be stripping if you overdo it—I made that mistake while stressed about a case deadline and ended up with flaky patches around my nose for a week.
Application: Apply after cleansing on bare skin, wait 3-5 minutes (the pH needs time to work), then continue with toner/serum/moisturizer. Do not use on the same night as retinol—that's a one-way ticket to irritation city.
Time investment: 4-5 minutes including wait time
When to skip: If your skin feels tight, sensitive, or irritated, back off immediately. This is the step that causes the most damage when overdone.
If you're dealing with barrier damage from over-exfoliation (been there), check out How to Repair a Damaged Skin Barrier in 7 Days for recovery protocol.
Pro Tips & Common Mistakes
The biggest mistake beginners make: Starting with every step at once. Your skin needs time to adjust. When figuring out how to start a Korean skincare routine, add one new product every 5-7 days so you can identify irritation sources. I learned this the hard way when I introduced five products simultaneously and ended up with cystic acne that took three months to clear.
Wait times matter: The "wait 60 seconds between steps" thing isn't beauty guru nonsense—it's about pH adjustment and penetration. Your treatment serum works at pH 4-5, your moisturizer is pH 6-7. Slapping them on immediately causes pH buffering that reduces efficacy. That said, when I'm running late? I skip the wait times and accept 80% efficacy rather than missing the step entirely.
Layering order is molecular weight, not thickness: Products go thinnest to thickest, smallest molecules to largest. Water → essence → serum → cream → oil. This is why you apply toner (water-based, low molecular weight) before serum (actives in an emulsion) before cream (occlusives and large-molecule lipids).
Cost-per-use beats cost-per-bottle: That $30 serum that lasts 6 months (around $0.16/use) is cheaper than a $15 serum that's empty in 6 weeks (around $0.36/use). I track everything in a spreadsheet because I'm that person, but even a rough calculation changes which products make financial sense.
You don't need 10 steps: The original Korean 10-step routine includes essence, ampoule, sheet masks, and eye cream—all optional. The core 6 steps (double cleanse, toner, serum, moisturizer, SPF, weekly exfoliant) deliver 90% of the results.
Common irritation triggers: Combining too many actives (retinol + AHA + vitamin C = angry skin), using fragrance-heavy products (fragrance compounds are the top allergen in skincare), and not adjusting for your menstrual cycle (I get sensitized right before my period and have to back off exfoliants entirely).
For a complete checklist of products and application order, reference the Korean Skincare Routine Checklist: Every Product You Need by Skin Type.
Frequently Asked Questions
How long does it take to see results when you start a Korean skincare routine?
You'll see hydration improvements within 3-7 days from humectant layers like toner and essence—your skin will look plumper and less dehydrated. For active ingredient results (hyperpigmentation fading, fine line reduction, acne clearing), expect 6-12 weeks of consistent use because that's how long it takes for full skin cell turnover cycles. The tretinoin I used for melasma took a full 8 weeks before I noticed visible fading, and I wanted to quit at week 5—don't give up right before the breakthrough.
Can I use Korean skincare products with my current retinol or prescription tretinoin?
Yes, absolutely—in fact, Korean hydrating toners and barrier-repair moisturizers like the Illiyoon ceramide cream work beautifully to buffer tretinoin irritation while maintaining efficacy. Apply your prescription retinoid after toner on slightly damp skin, wait 5 minutes, then seal with moisturizer. The layering compatibility rules still apply: separate vitamin C (morning) from retinoids (evening), and never combine retinoids with AHA/BHA exfoliants on the same night.
Is Korean skincare actually better than Western skincare or just marketing hype?
Korean skincare excels at elegant textures, innovative humectant delivery systems, and cost-effective formulations—the cosmetic chemistry behind their fermented ingredients, multiple-molecular-weight hyaluronic acid, and ceramide ratios is legitimately advanced. Western dermatologist brands like CeraVe and La Roche-Posay have superior clinical research backing and simpler ingredient lists, which matters if you have extremely sensitive skin. The truth? The best routine combines both: Korean products for hydration and texture, Western actives for targeted treatment when you need heavy-duty results.
What's the minimum Korean skincare routine if I only have 5 minutes?
The absolute minimum effective routine is four steps: water-based cleanser, treatment serum with actives, moisturizer with ceramides, and SPF 50+ sunscreen (morning only). That's 4 minutes morning, 3 minutes evening. Skip the oil cleanser if you use a micellar water for makeup removal, skip the toner entirely, and skip weekly exfoliation until you have bandwidth. You'll still get 70% of the results—I've used this abbreviated version during trial weeks when I'm running on four hours of sleep and it keeps my skin functional.
Summary
Learning how to start a Korean skincare routine comes down to six core steps: double cleanse (evening), water-based cleanse, hydrating toner, treatment serum, moisturizer, and SPF 50+ (morning). The total setup costs around $80-150 and takes 7-12 minutes twice daily once you've built up to all steps.
The most important lesson after two years of testing hundreds of products between court dates and daycare pickups? Consistency beats complexity. A simple 4-step routine you do every day delivers better results than a 10-step routine you do sporadically. Start with cleanse-treat-moisturize-protect, add layers as your schedule and skin tolerance allow, and track cost-per-use rather than falling for pretty packaging.
You don't need to choose between results and actually sleeping. You just need the right six products in the right order.